While crawling your website, Sitebulb will split out and group the pages it finds based on the underlying page template, which helps you evaluate, understand and present the identified issues in a more developer-friendly manner.
This article is focused on how to use HTML Template data within Sitebulb, and breaks down into a few sections:
Most websites are built using a content management system (CMS), which allows users to create content without necessarily having lots of technical expertise about how the underlying pages are built.
Typically, developers will build out a range of page templates for the website, which can be selected by users of the CMS. So, for example, a content writer might select the 'Blog Post' template when writing a new post. Or the ecommerce team might select the 'Product Page' template when adding a new product to the store-front.
Essentially, all pages using the same template will inherit the same underlying HTML - which will typically mean that if there is a problem on one page of a template, it will also be present on all the other pages using the same template.
As such, it is very valuable when auditing a website to be able to;
This is what Sitebulb's HTML Template feature allows you to do.
If you prefer to learn visually, follow along on our video demonstration below:
You don't need to do anything in order to 'switch on' HTML Templates, as Sitebulb will automatically do it - however you can optionally set up any CMS platforms you know that the website uses (see further below).
HTML Template information will be available once the audit has completed, via the 'HTML Templates' report option on the left hand menu:
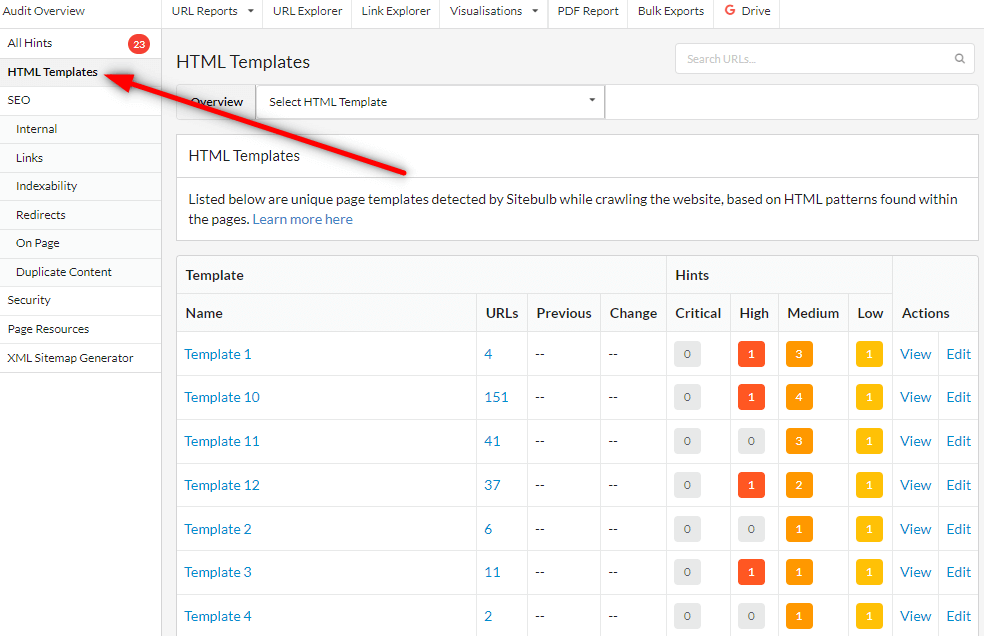
This will show you all the URLs on the website, split into the different page template groupings.
To make this data much more useful, you can rename each of the templates based on the type of pages in each group. This takes a bit of up-front manual work, but the names that you create will save and persist for future audits, so it is generally a worthwhile endeavour.
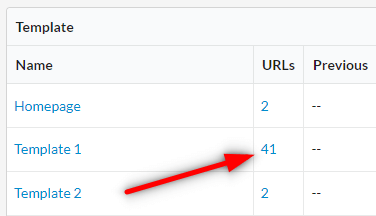
To rename a template, click the URL number alongside the template name:
This will bring up the list of URLs that were identified as using the same template. At this point you can either manually inspect the URL paths, or right click any URL to select 'Open in Browser', which will help you decide upon the correct logical name. Once you have decided what to call it, re-write the template name along the top:
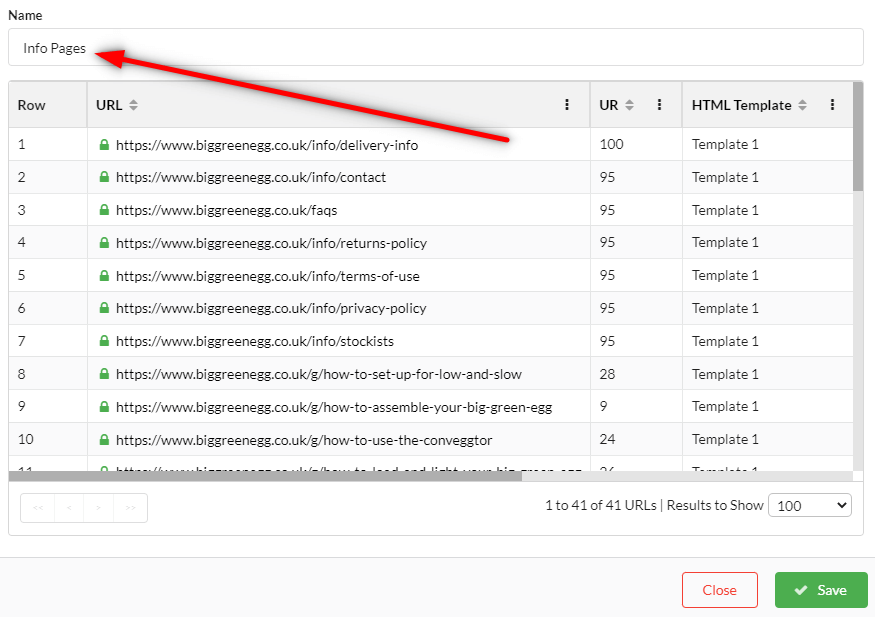
Once you hit Save, the new name will display in the list of templates;

Once you have done this for all the different templates, it will end up looking like this;
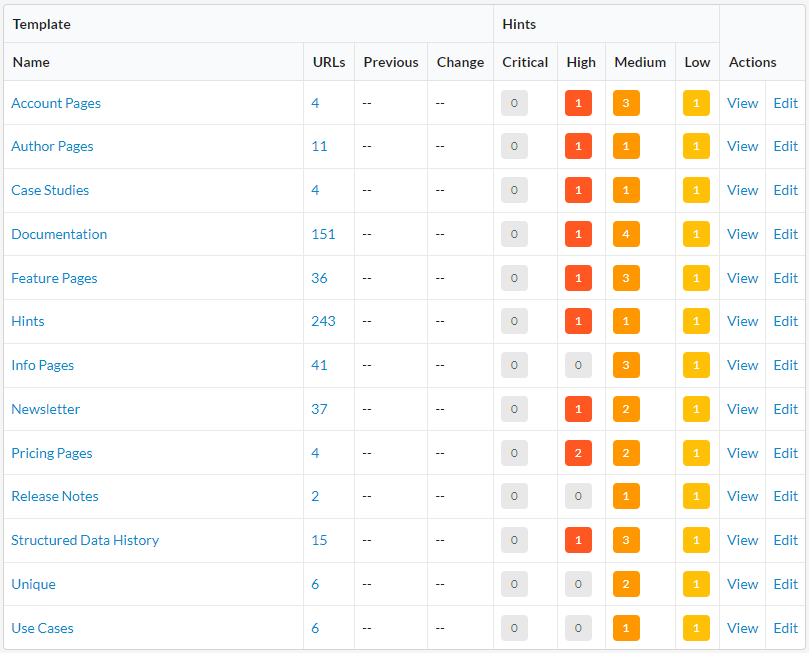
Note that the 'Edit' button on the far right will also allow you to re-name templates.
Once your template names are added, they will be stored on the system and used for all future audits (without having to write them all out again). On subsequent audits within the same project, the 'Previous' and 'Change' columns will also populate, allowing you to understand page discovery at the template level, and also see if any new templates have been added to the site.
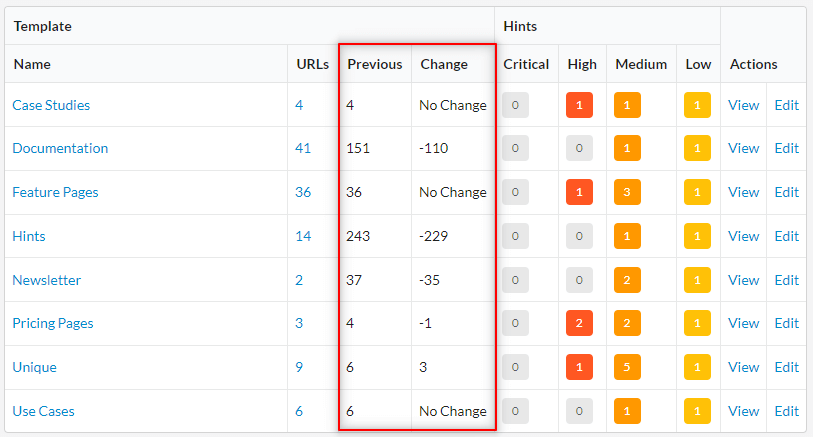
Without any further analysis, this list of templates is already useful data, as it helps you understand the underlying structure of the website you are dealing with, and the potential scope of actually getting issues fixed.
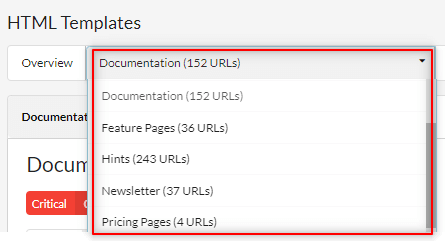
To dig into each template further, you can navigate onto the template report by selecting the template from the dropdown navigation, clicking the name or clicking the 'View' button;
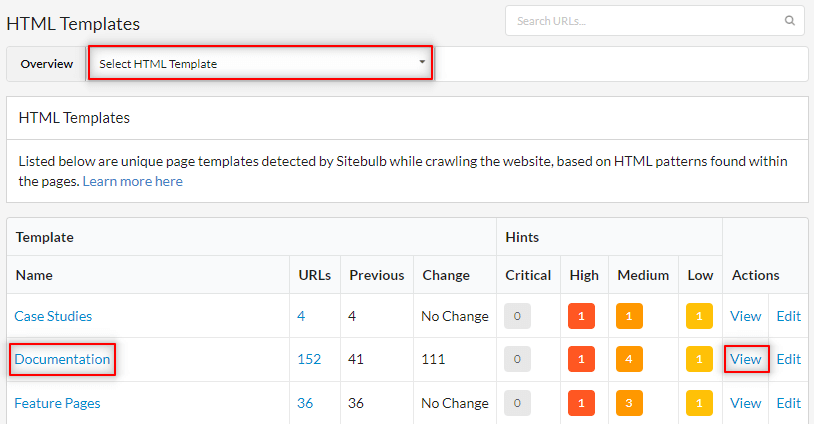
Each of these will take you to the same place, the report page for this specific template:
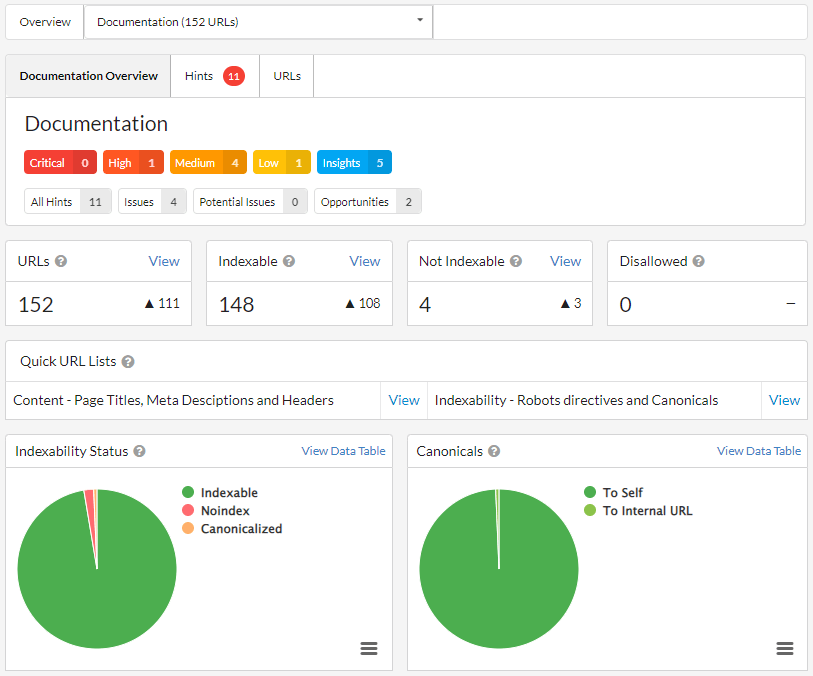
From here you can explore the data as you would in the rest of Sitebulb tool, with the added context that everything you see on this page relates only to the page template you have selected. You can click through into the URL Lists or tables, or view the triggered hints for this template.
For example, clicking through the pie chart on the left to view indexable URLs will show you the indexable URLs that use this page template. You will notice that the HTML Template is shown as a column in the URL List:
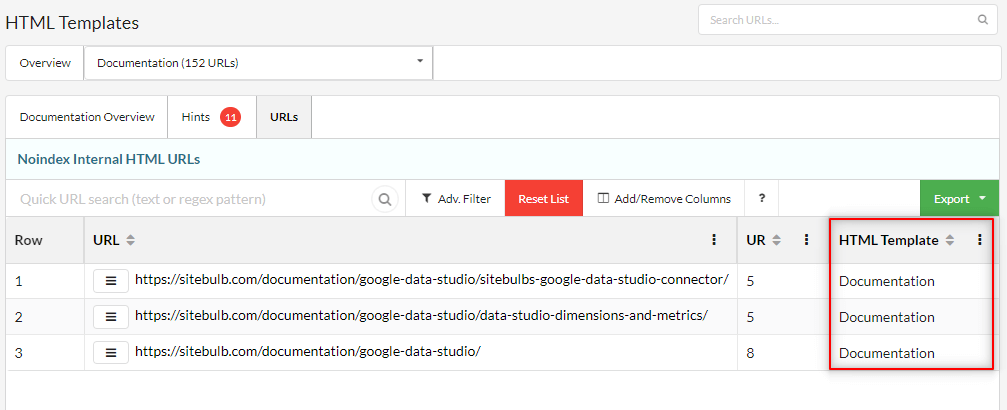
You can navigate back to the main list of templates by clicking Overview or jump between templates using the dropdown;
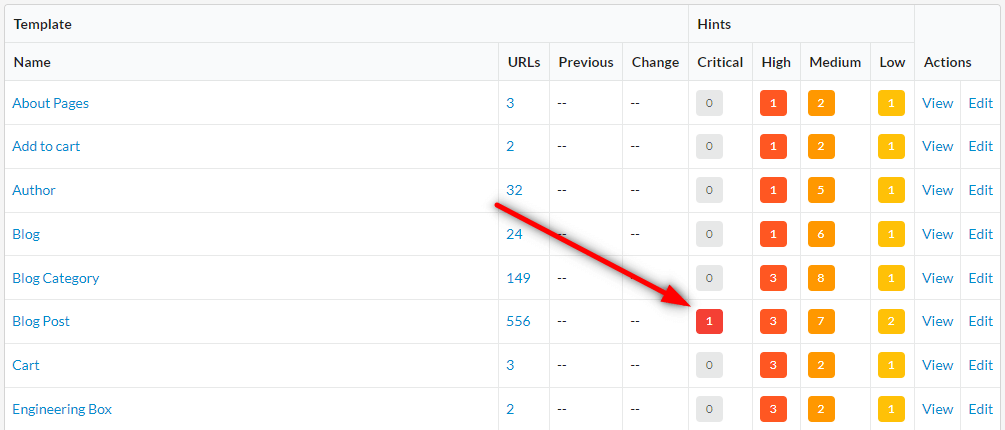
The Hints data alongside each template will also help you easily spot when a particular issue is only present on certain templates. In the example below, we can see that there is a critical issue which affects only the 'Blog Post' template.
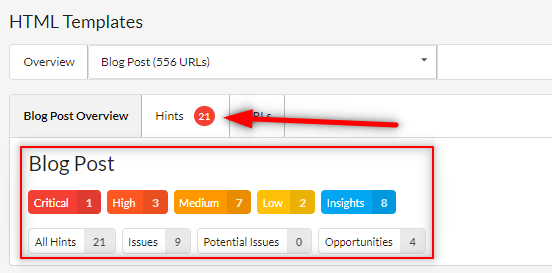
If we click through to view this template, we can see the Hints values for the template, and view the triggered Hints for this template by clicking into the Hints tab;
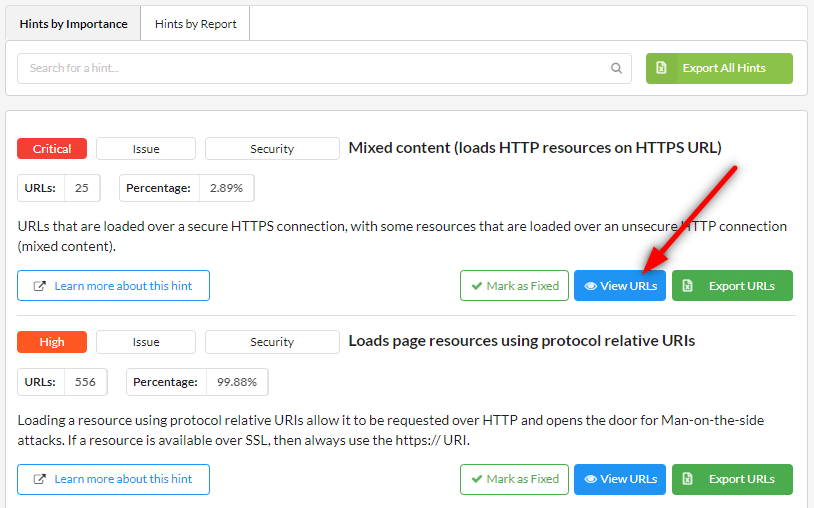
This shows us all the triggered Hints for this specific template, ordered by importance, and therefore showing the Critical one at the top. To dig in further, you can click through to View URLs:
Once you have named all your templates, this data will enrich your reports in other areas of Sitebulb as well.
For example, if you are investigating hints for a specific report, such as Performance, you might find certain Hints that cover a low percentage of URLs, like this one:

When you view the URLs, you can identify which page templates the issue was present on, which aids your understanding of the issue, and can make your communication with your client/developers a lot clearer.
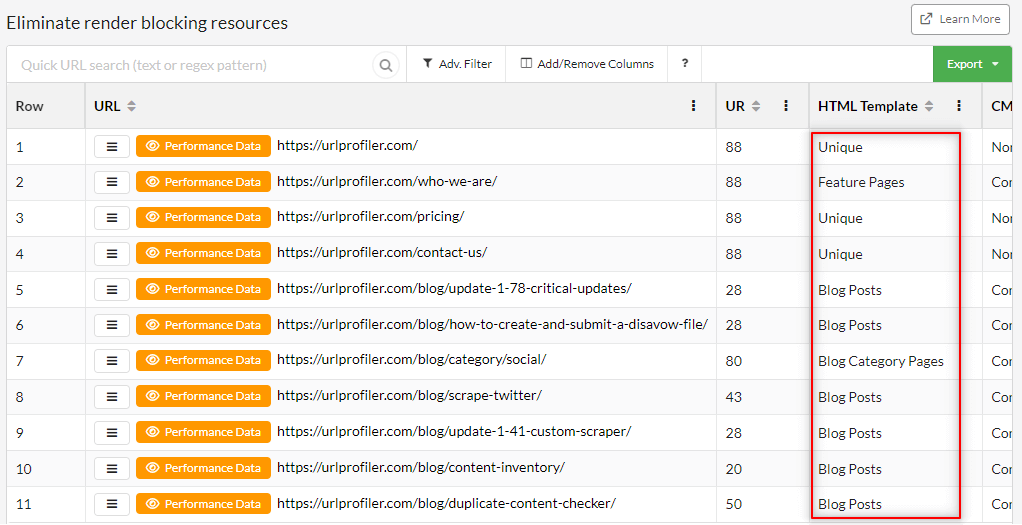
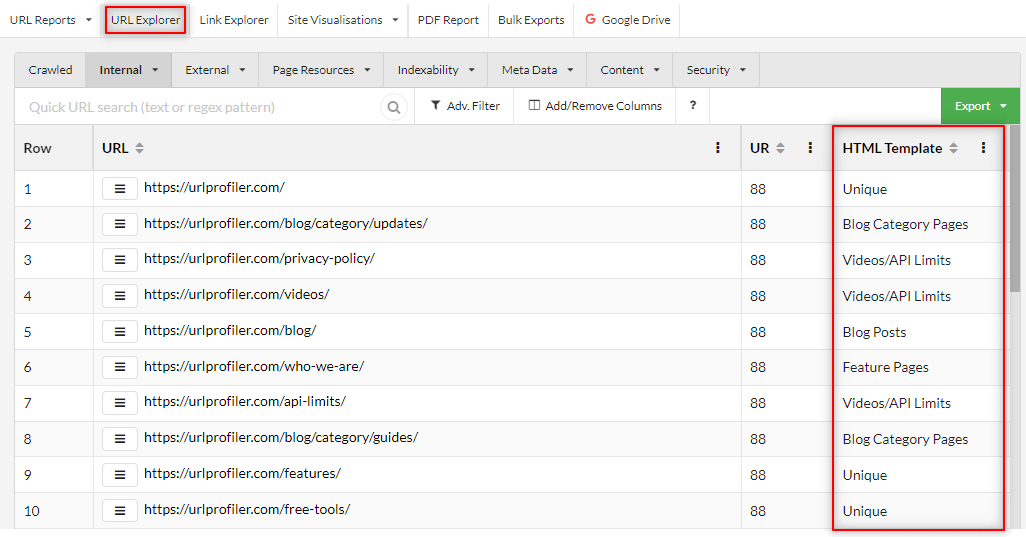
You will also find the HTML Template in areas such as the URL Explorer, and configurable as a column you can add for any URL List it is not already present on.
You'll also notice a 'HTML Templates' tab that becomes available in the different reports. This will show you a top-down matrix of common issues, and on which page templates they occur.
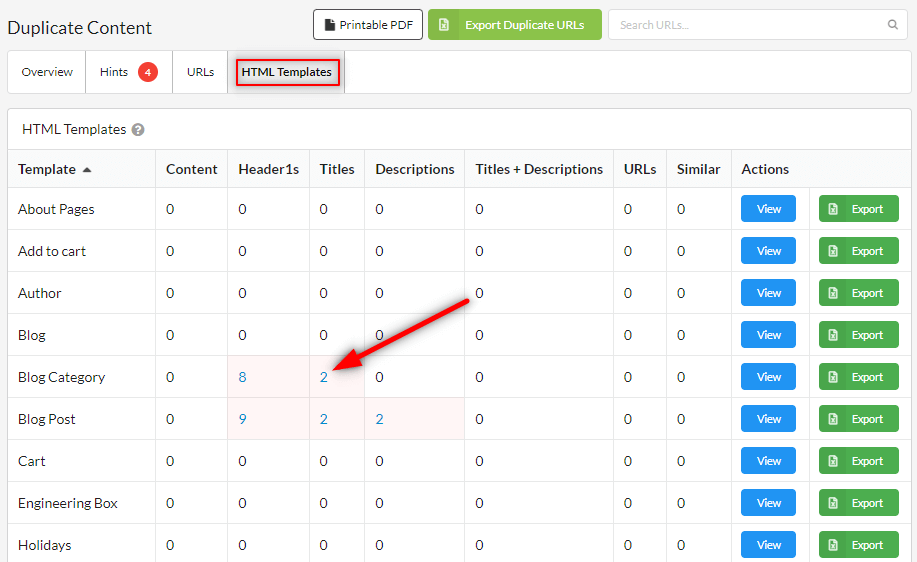
On it's own this sort of view can give you a really clear overview of where issues lie, but if you want more context you can click on the numbers to drill down further:

This then shows you the template specific issue in a URL List.
The HTML Templates tab only appears on certain reports - those that make sense in terms of the issues covered - and in some places you will find them more valuable than others.
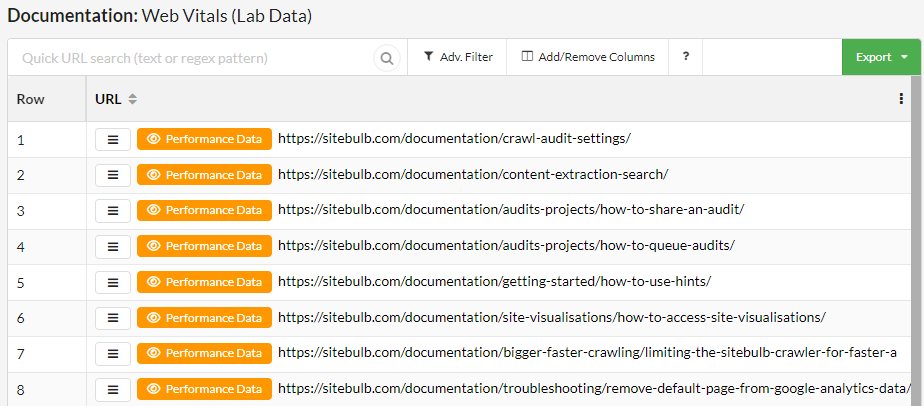
Within Performance, for example, it is hugely beneficial to see the breakdown of different Web Vitals metrics on each template, particularly since the work involved in improving performance is so heavily template-based.
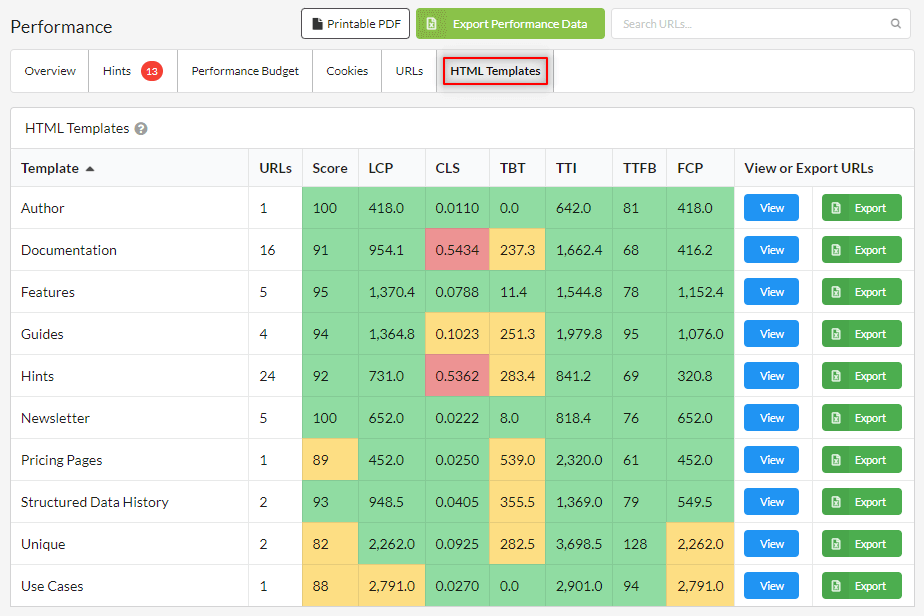
You can dig in further by exporting to CSV or Google Sheets, or by clicking through to View:
Popular CMS platforms utilise common patterns in their page template, which Sitebulb can identify to help with template naming.
When Sitebulb runs the pre-audit checks, it will check the HTML on the homepage to see if any known CMS platforms are identified - if it finds any, they will be pre-selected.
You can see these when setting up a new audit, or editing project settings - navigate to CMS and Templates on the left hand menu:
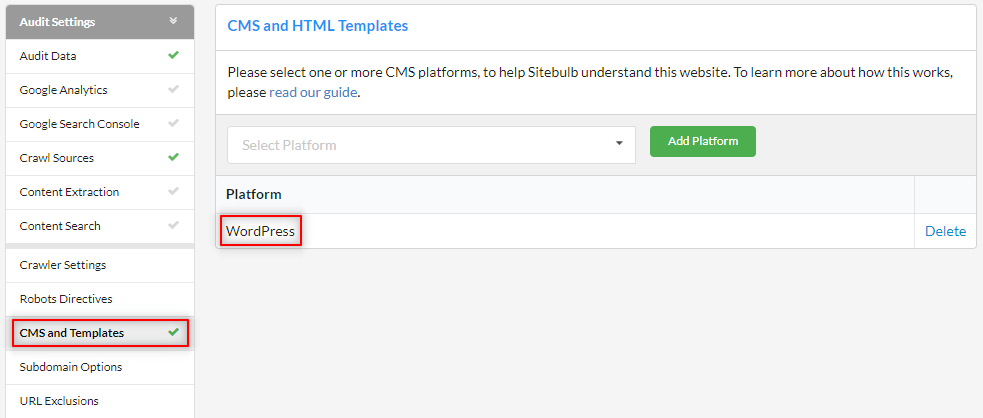
You can see in this case the WordPress has already been selected. However, it could be the case that a website uses WordPress on the homepage and also WooCommerce - but only on the 'shop' pages (i.e. WooCommerce is not present on the homepage). In those instances, Sitebulb will not find and add WooCommerce.
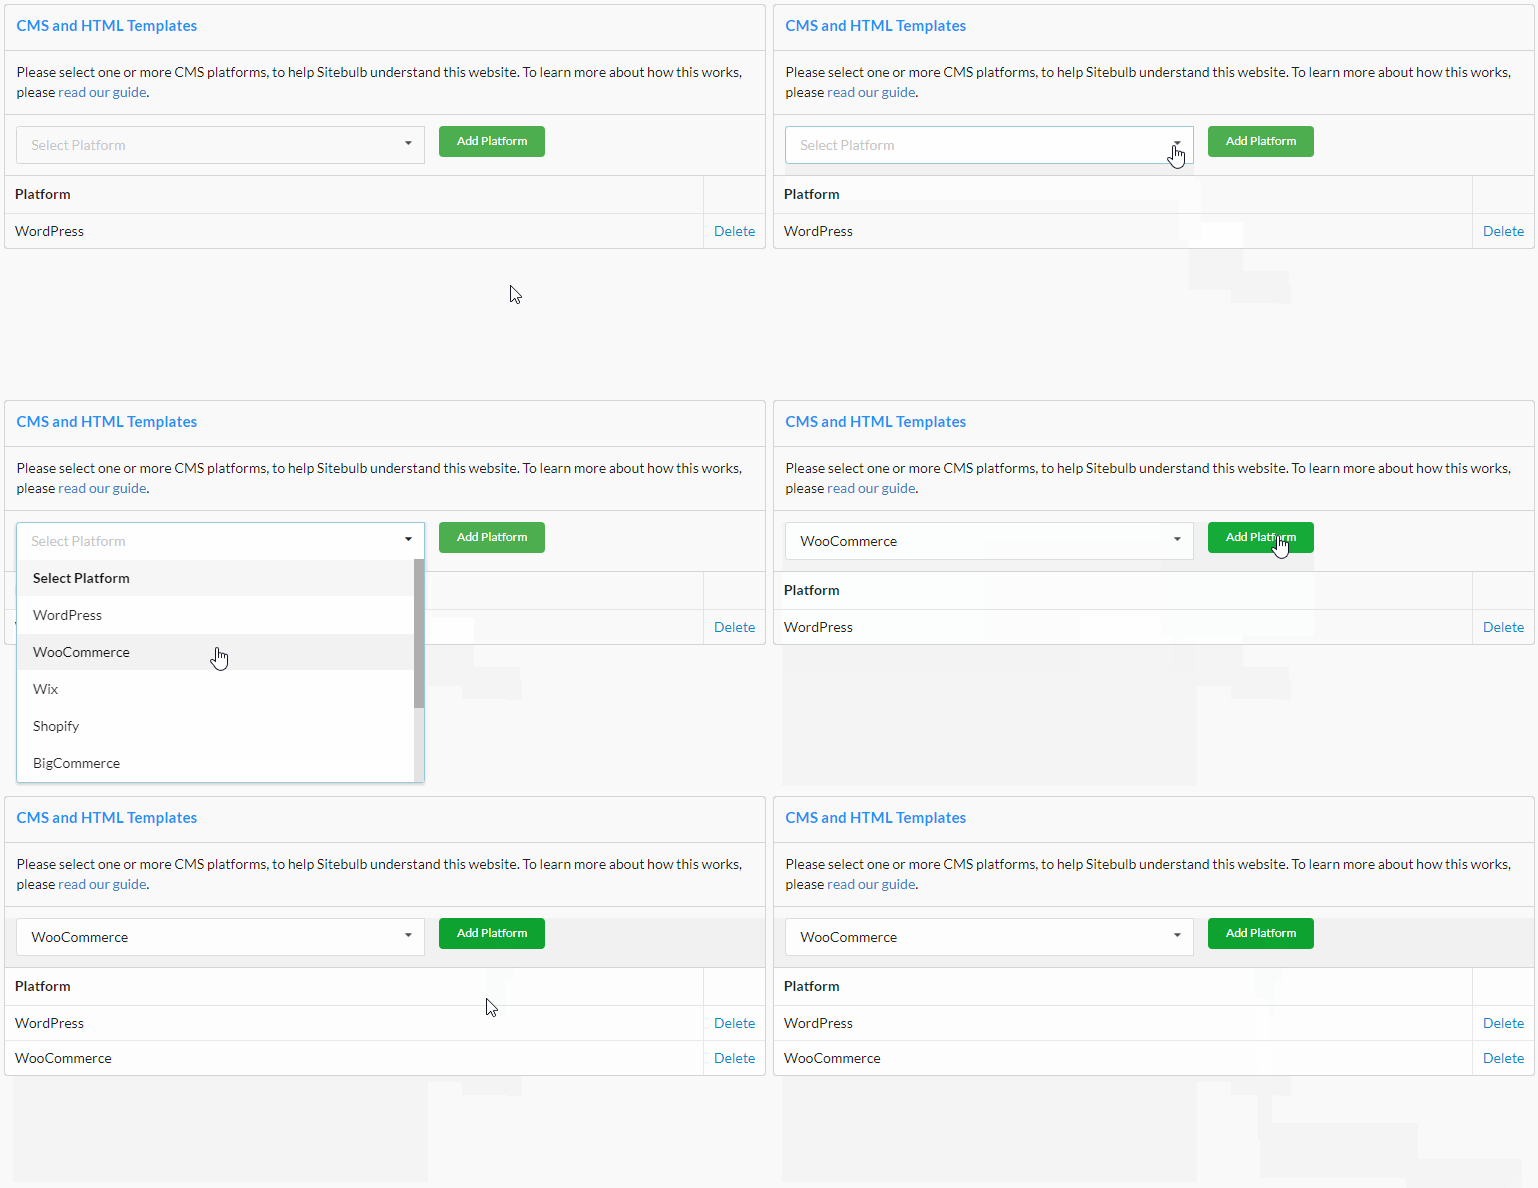
So if you are already aware which CMS platforms the site uses, you can use the dropdown menu to add them, for example;
Once the audit is complete, you will then be presented with more helpful and meaningful template names (instead of just 'Template 1', 'Template 2', 'Template 3', etc...).

You can of course customise these template names further, or totally rename them;

Whenever a CMS platform has been selected, you will also see an additional column CMS Template Name in URL Lists, which defines the underlying HTML template the pages are built from, even when variations have been developed off the main template.
