Sitebulb integrates with the Google Sheets API, so you can push Sitebulb-generated-spreadsheets directly into Google Sheets.
Before you can do this, you will need to authenticate a Google account to use.
As soon as you press 'Export to Google Sheets' within an audit you will see a call to action to connect your Google account.
You are able associate multiple different Google accounts, in case you use different accounts for different clients.
You can upload pretty much any export you find in Sitebulb, directly into Sheets. Once you hit an Export button, you'll be able to select the Sheets option:

The first time you do this, you'll need to authorise a Google account to use, but you won't need to keep doing this step in the future:

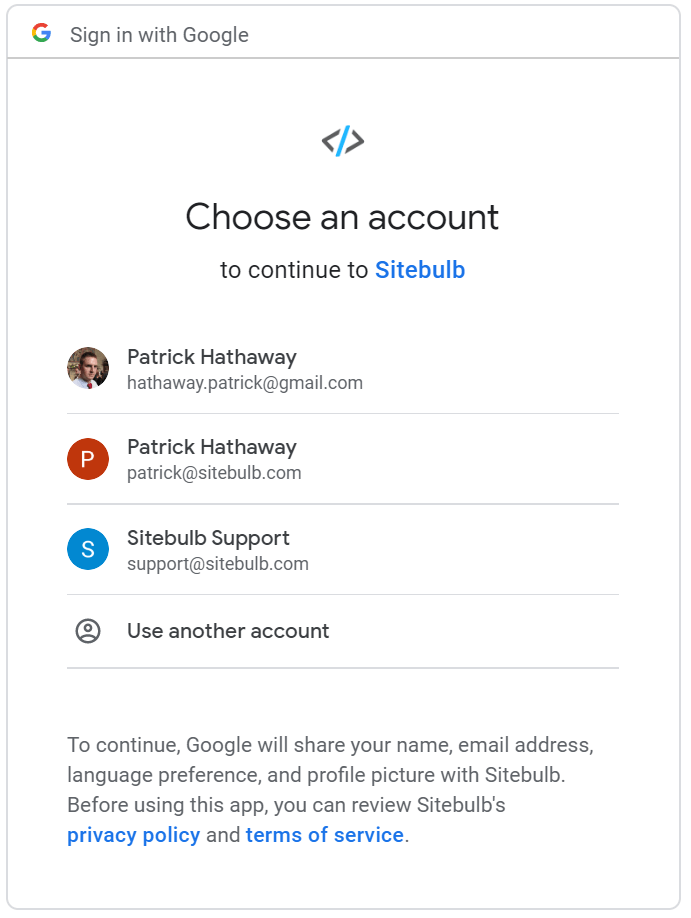
This step is super straightforward, a browser window will open up and you just need to select or sign in with the right account...
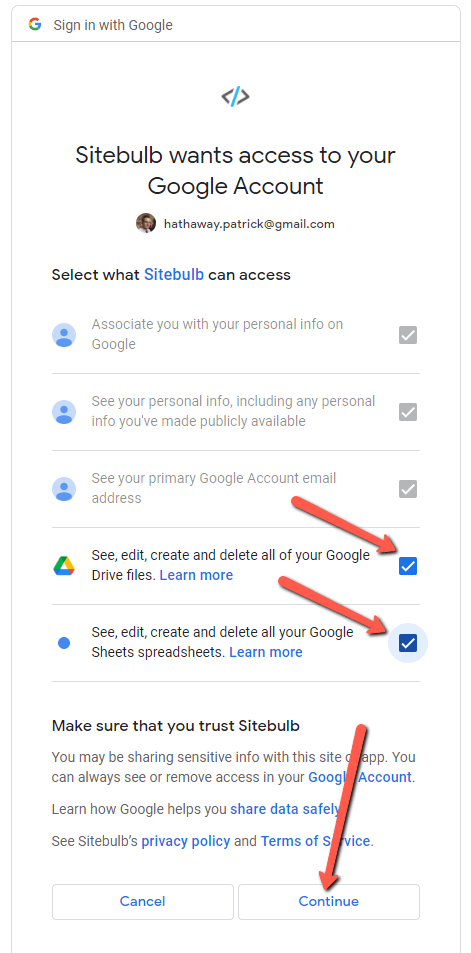
...and then verify that you are happy for Sitebulb to access your account.
Note that you need to tick the two boxes highlighted below, or the authentication will not work:
Once this has been added, you'll see a basic confirmation screen, and can then just return to the tool.
Since Google will let you click 'Continue' without ticking those 2 boxes above, you can end up in a situation where Sitebulb is not granted the permissions it needs. If this happens, you will end up on a screen that looks like this:

And when you return to Sitebulb, you will notice that the Google account has NOT been added.
This is because you did not grant Sitebulb the correct permissions. Add the account again, and this time be sure to tick these two boxes (which are unticked by default):

You should now see the account added to Google, ready for uploading your data.
Then, select the Google account from the dropdown, and you need to give the Sheet a name (or use the pre-filled option) and hit Export and Upload.

The upload will typically take a few seconds to process, however if you are uploading spreadsheets with LOTS of data, this can take a few minutes (see further below on Data Limits).
Once the upload is complete you will be presented with two options, either to go into the 'root' Google Drive folder, or directly into the uploaded Sheet itself.

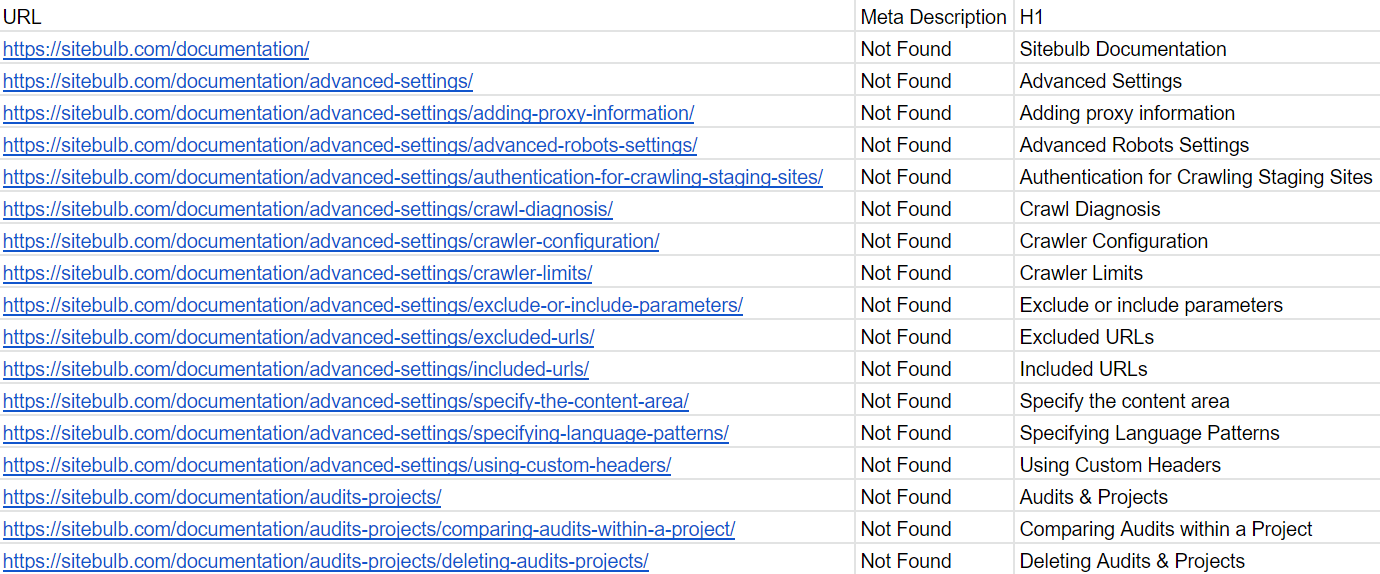
If you select View Google Sheet this will dive you straight into the uploaded spreadsheet, which will show the URL data as it appears in URL Lists in the tool:
If you instead select Google Drive Folder you'll see how the export has gone in, and that Sitebulb has created a 'Sitebulb Exports' folder in Drive, which will be the place that all future Sitebulb data is saved to. Within this you can also see that the data is organised further into Projects and Audits, so your data stays within a consistent structure in the future.
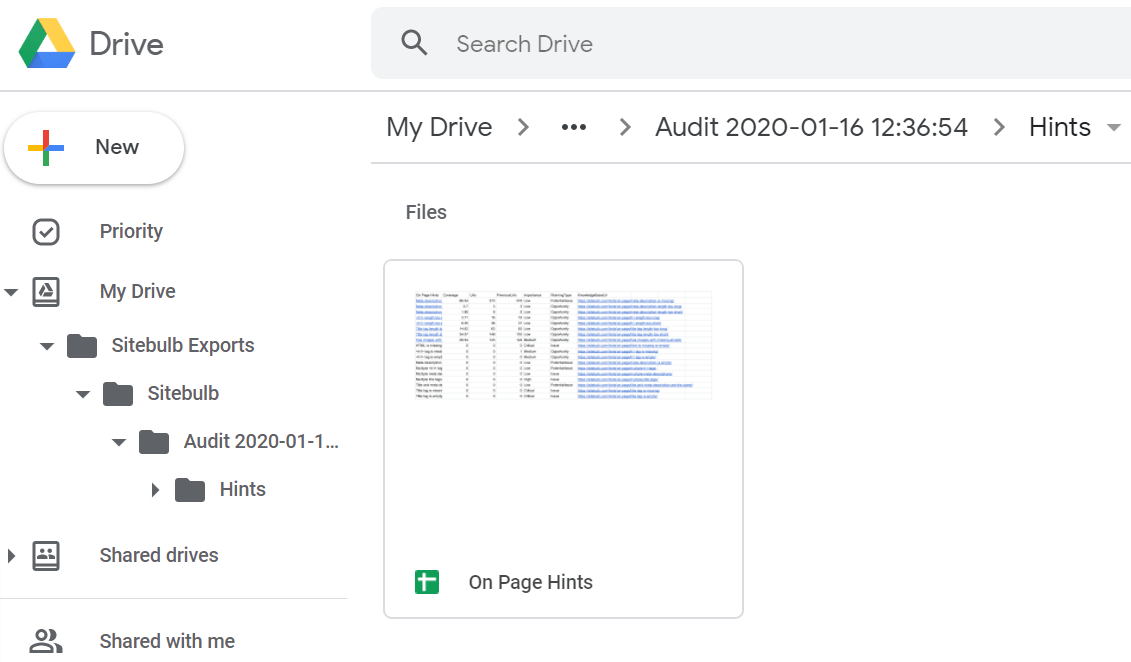
Within Drive, you can of course then click through into the Sheet itself.
Note that you can also jump directly into the Sitebulb Google Drive folder from anywhere within the audit, by pressing the Google Drive button in the top navigation.

Sitebulb is designed to offer you all the exports you commonly need, ready and prepared for you as soon as the audit is finished - most of these are CSV files but occasionally we use formatted Excel files for more custom requirements. Additionally, we also provide complete flexibility within the URL Lists or the URL Explorer to build your own filtered lists and export these as well.
(Almost) every single export can be pushed into Sheets. If the option is available to use Sheets, you'll see it as a dropdown option when you click the Export button.
The different types of export include:
It doesn't really matter what the different types are, however the important thing to note is that '#1 Grouped Hint exports' are displayed a little differently in Drive.
Grouped Hints will be displayed inside a 'Hints' folder, whereas anything else you do (including a single Hint export) will just appear as a file underneath.

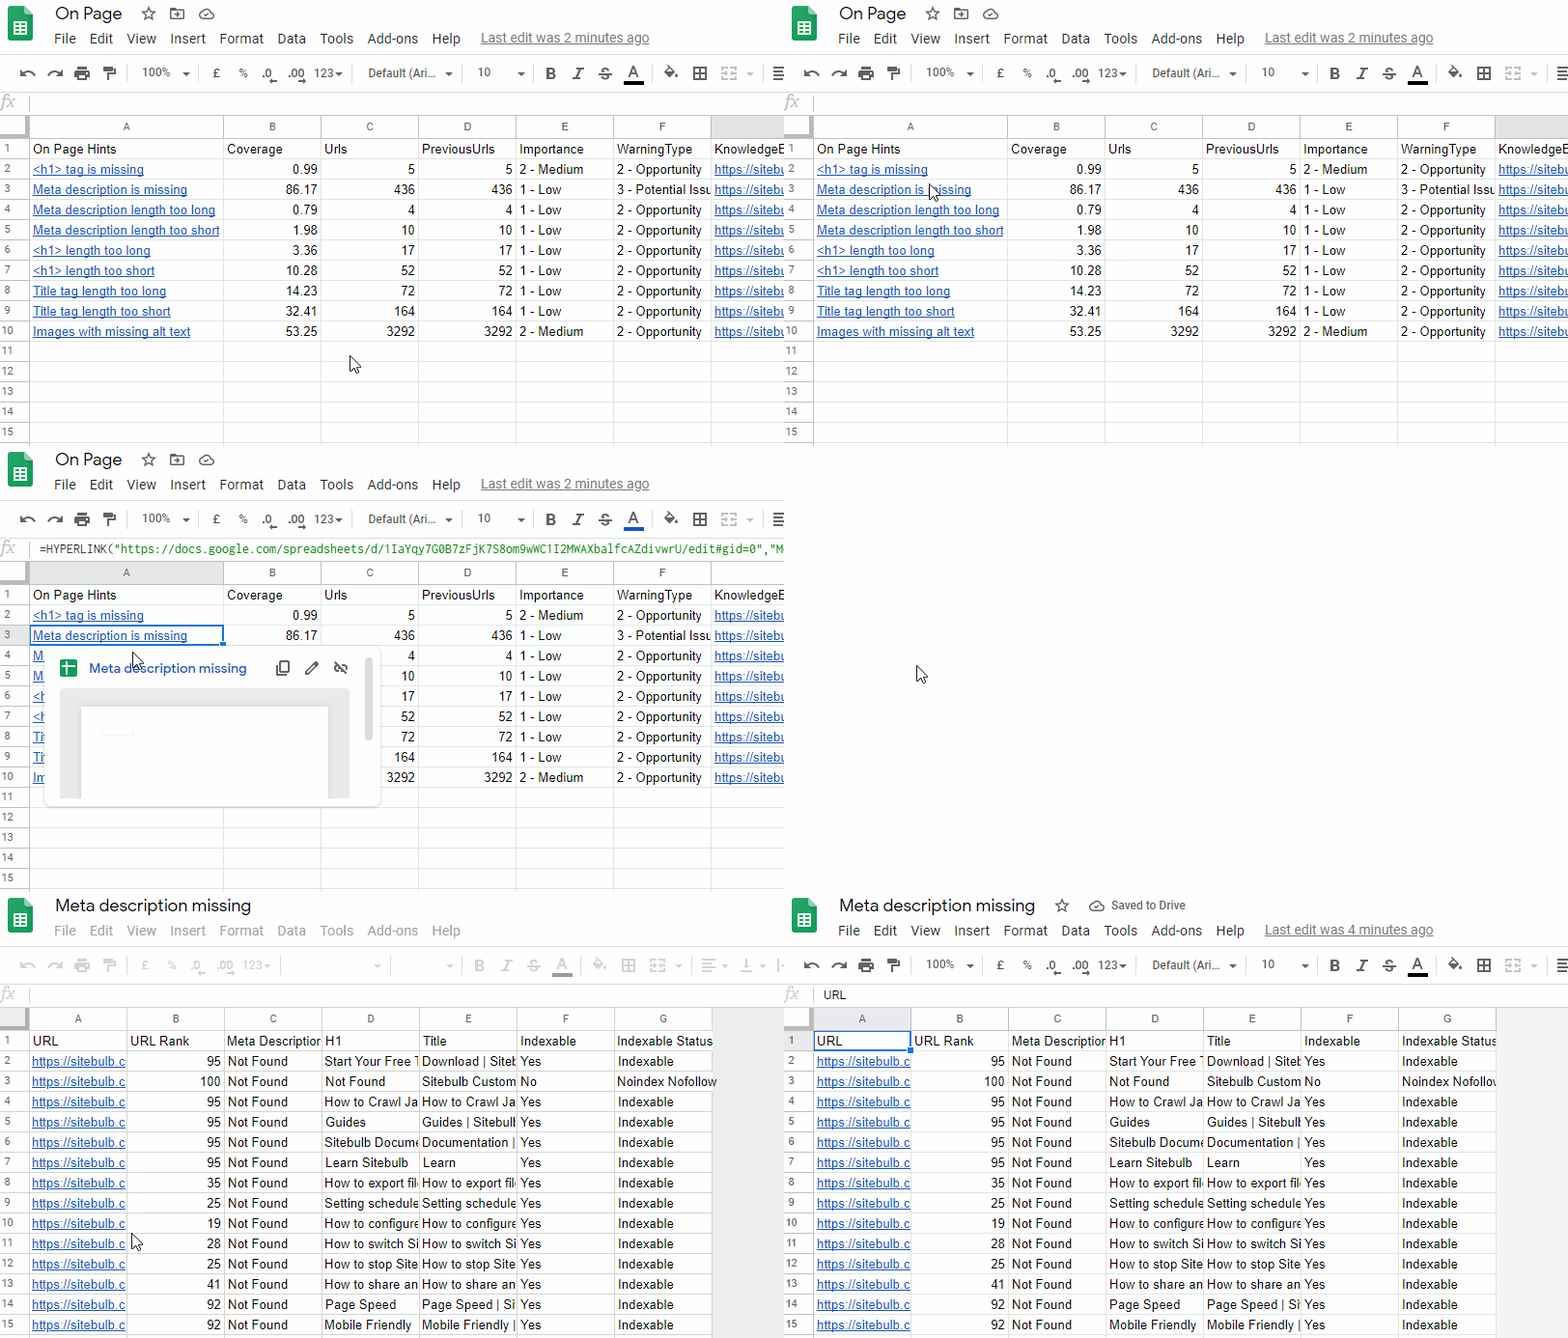
By 'Grouped Hints', what we mean is a complete set of triggered Hints for an entire report section in Sitebulb (e.g. 'On Page'). Sitebulb will produce a summary sheet, with all the individual Hints sheets accessible via linked Hint names..
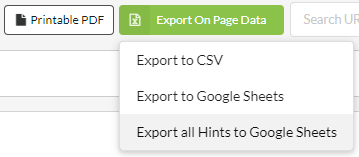
To generate these, you need to go to a section, for example 'On Page', then click the export button alongside 'Printable PDF'. From the dropdown, select the 'Export all Hints...' option.
In this example below I did this for On Page. As you can see there is a summary sheet, which is linked through to individual Hints worksheets via the links on the left, with the coverage and importance details in the other columns.

Clicking through to an individual Hint will open up the corresponding sheet for the individual Hint, which shows the URL data itself, as it appears in URL Lists in the tool:
Google Sheets is not designed to be an enterprise level product. On bigger sites, Sitebulb CSV exports can go into many millions of rows, but Sheets is not able to handle this quantity of data. You'll find yourself frustrated with the results if you try to push everything you possibly can into Sheets, for every audit, regardless of website size.
The limits you need to bear in mind are:
In most cases, you won't even need to make a choice about this as you won't be getting near the limits. If you are, Sitebulb will warn you and offer you some options:

Be particularly careful with Links exports, as it can be easy to underestimate their size. By way of example, this is an ecommerce site with only 22,000 internal URLs, somehow has 5,800,000 internal links (hello, mega menu):

So in this case, even the '1 column' option would not allow you to push all the link data into Sheets - you'll need to switch to CSV if you want to access all the data in a spreadsheet (remember you can just use the Link Explorer instead...)
If, for whatever reason, you decide that you no longer need/want Sitebulb to have access to Google Sheets, you can simply disable access through Sitebulb's global settings menu.
From anywhere within Sitebulb, click the Settings button:

Navigate to the Google Accounts tab and then select the Google account you wish to remove.
Note that there are separate permissions for Google Sheets and Google Analytics/Search Console. You can remove one permission and leave the other intact, just be sure to select the right one when you come to do this.
